- HOME
- Technology & Trends
- How to teach on an online whiteboard: A practical guide for educators
How to teach on an online whiteboard: A practical guide for educators
- Last Updated : September 16, 2026
- 17 Views
- 8 Min Read

Quick summary:
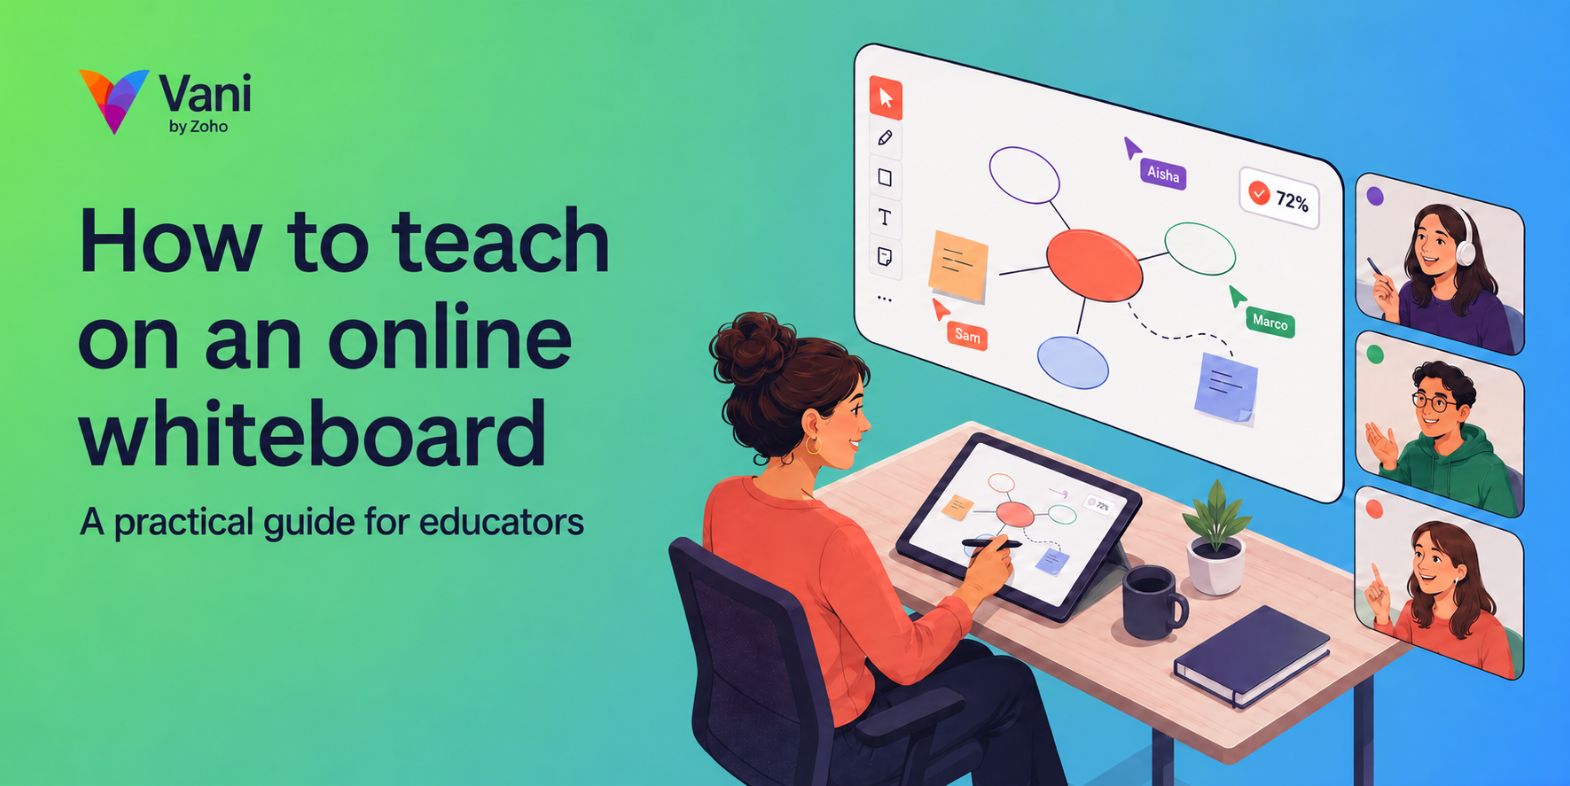
To teach on an online whiteboard, treat it as a shared thinking space rather than a digital chalkboard: set up a structured canvas before class, build ideas live with students instead of presenting finished slides, and use participation tools like sticky notes, polls, and real-time collaboration to keep the class visibly part of the work. The rest of this guide breaks that down into a five-stage teaching framework, common mistakes, and what to look for in a whiteboard tool built for teaching.
Walk into any physical classroom, and the whiteboard is doing more work than it gets credit for. It's where a lecture becomes a diagram, where a student's question turns into a shared sketch, and where a lesson plan adapts in real time because someone raised their hand with a better idea. Take that board away, as remote and hybrid teaching often does, and something is lost.
The common mistake is treating an online whiteboard as a digital stand-in for the physical one. It works better as something different. The whiteboard was never really the medium that mattered; the thinking happening on it was. Online, that means building a shared thinking space where students watch reasoning develop in real time and add to it themselves, not a board the teacher fills in while everyone else watches.
Why online whiteboards work for teaching
There's a reason visual teaching sticks. Visual and verbal information can reinforce each other, which is one reason annotating a canvas while explaining out loud can be more effective than relying on either mode alone.
For remote and hybrid classrooms, an online whiteboad solves a problem video calls alone can't: it gives everyone a shared point of focus. Instead of students staring at a talking head on a screen, they're watching, and often contributing to, an idea taking shape. That shift from passive viewing to active building is the whole point, and it's what separates a genuine shared thinking space from a screen full of static slides.
It also keeps a permanent, revisitable record. A whiteboard from Tuesday's lesson can be reopened Thursday, annotated further, or shared with a student who missed class.
A five-stage framework for teaching on a whiteboard
Rather than a list of disconnected tips, it helps to think of a lesson in five stages: prepare, explain, build, practice, and reflect. Each stage has its own techniques, and together they cover a full class from setup to follow-up.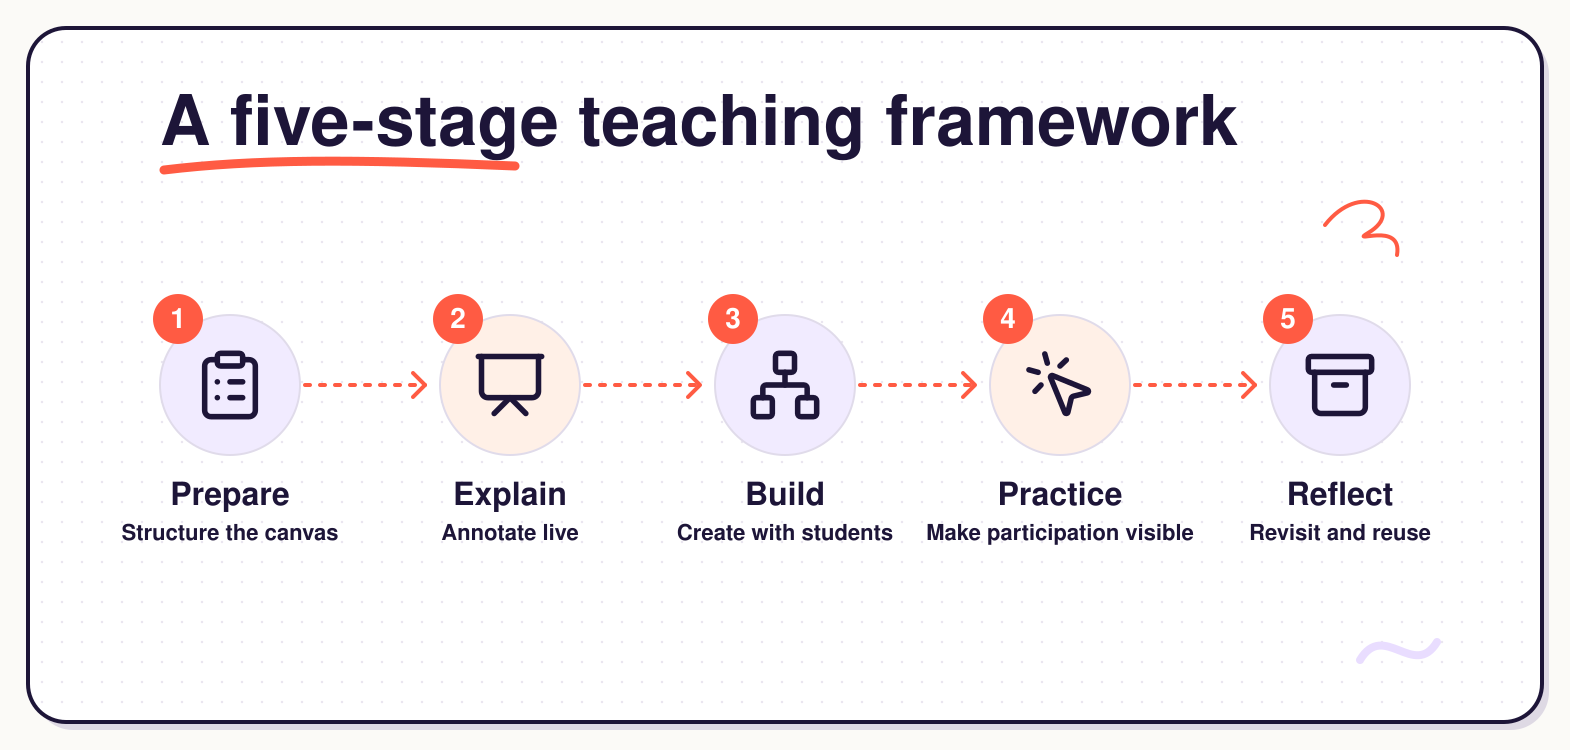
Prepare: Set up the space before class starts
1.Start from a template, not a blank canvas: Blank infinite canvases are intimidating for students and slow you down as an instructor. Whether it's lesson templates, a lecture outline, a mind mapping frame, or a Kanban board for group projects, give structure from the first click.
2. Set permissions deliberately: Decide up front who can edit versus who can only view. For younger students or large classes, view only with select edit access prevents chaos. For small seminars or collaborative sessions, open editing is often the point.
3. Invite students with a direct link, not a scavenger hunt: The lower the friction to join, ideally without requiring an account, the more likely students actually participate instead of just watching.
4. Bring video into the same canvas: Running the call from inside the whiteboard instead of a separate app keeps instructions and the board in one place, so students aren't splitting attention between two windows before class even starts.
5. Decide on a naming convention up front: A simple pattern (Unit 1, Intro; Unit 1, Practice) costs nothing to set now and saves real time once you're revisiting boards later in the term.
Explain: Annotate instead of present
Instead of presenting a finished slide, drop it onto the canvas and annotate it live: circle the part that matters, cross out a common misconception, and draw the connection a static slide can't show. This works best on a canvas that can hold imported slides, documents, or images directly, so the annotation happens on the real material rather than a copy pasted into a separate app. Narrating over it through video built into the same canvas, rather than a separate call window, keeps the explanation and the board in the same place instead of splitting a student's attention between two windows.
Build: Construct ideas with students, not for them
Concept mapping in real time: Rather than showing students a finished diagram, construct it with them. Ask a question, add their answer as a node, and connect it to what came before. Some whiteboard tools can speed up the first draft with AI: try describing a concept in plain language and letting the tool generate a starting flowchart or mind map, which you then refine live with the class instead of building from a blank node.
Splitting the canvas for group work: Divide the board into zones or sections, one per group or breakout team, so everyone can work in parallel without stepping on each other's space. Then, regroup to compare results side by side.
Practice: Make participation visible
1. Use sticky notes for quick participation. Asking "add one word that describes X" and watching notes populate the board in real time is a fast, low pressure way to get everyone contributing, including students who'd never raise their hand otherwise.
2. Run quick polls or votes directly on the canvas. A simple equivalent to the "show of hands" keeps the energy up without switching tools.
3. Call on students to add to the board themselves, not just answer verbally. Having a student sketch their own answer, even a rough one, changes the dynamic from listening to doing.
4. Add light gamification where it fits: Try a scoreboard, a progress tracker, or even just moving a marker toward a goal as the class completes tasks together.
5. Let the whole class edit at once. A class of 25 students adding sticky notes at the same moment can turn into overlapping edits and lag on tools that weren't built for it. A board designed for real concurrent editing is what keeps that moment feeling lively instead of broken.
Reflect: Make the lesson reusable
A board doesn't have to disappear when class ends. Reopening the same canvas in the next session to recap where the class left off, sharing it with a student who missed the lesson, or keeping a strong lesson board as a template for next term all turn a single class into something reusable. That's a different thing from recording the video portion of a session, which not every whiteboard tool supports, so it's worth checking whether a platform saves the board itself, the video, or both before promising either to students.
Common mistakes to avoid
1. An overcrowded canvas: If students have to hunt for what matters right now, they disengage. Zoom, frame, or clear as you go.
2. No structure at all: An infinite canvas doesn't mean infinite chaos. A loose plan for how the board will build over the class period keeps both you and your students oriented.
3. Ignoring latecomers or async viewers: If the board only makes sense to someone who was there from minute one, it's not doing its job as a record.
4. Never saving or organizing boards: A brilliant lesson is only reusable if you can find it again next term.
5. Talking instead of showing. If you're describing what you'd draw instead of actually drawing it, the board isn't doing anything a phone call couldn't. The value of the medium disappears the moment it becomes decoration. Pricing that works for individual educators, not just institutions with a training budge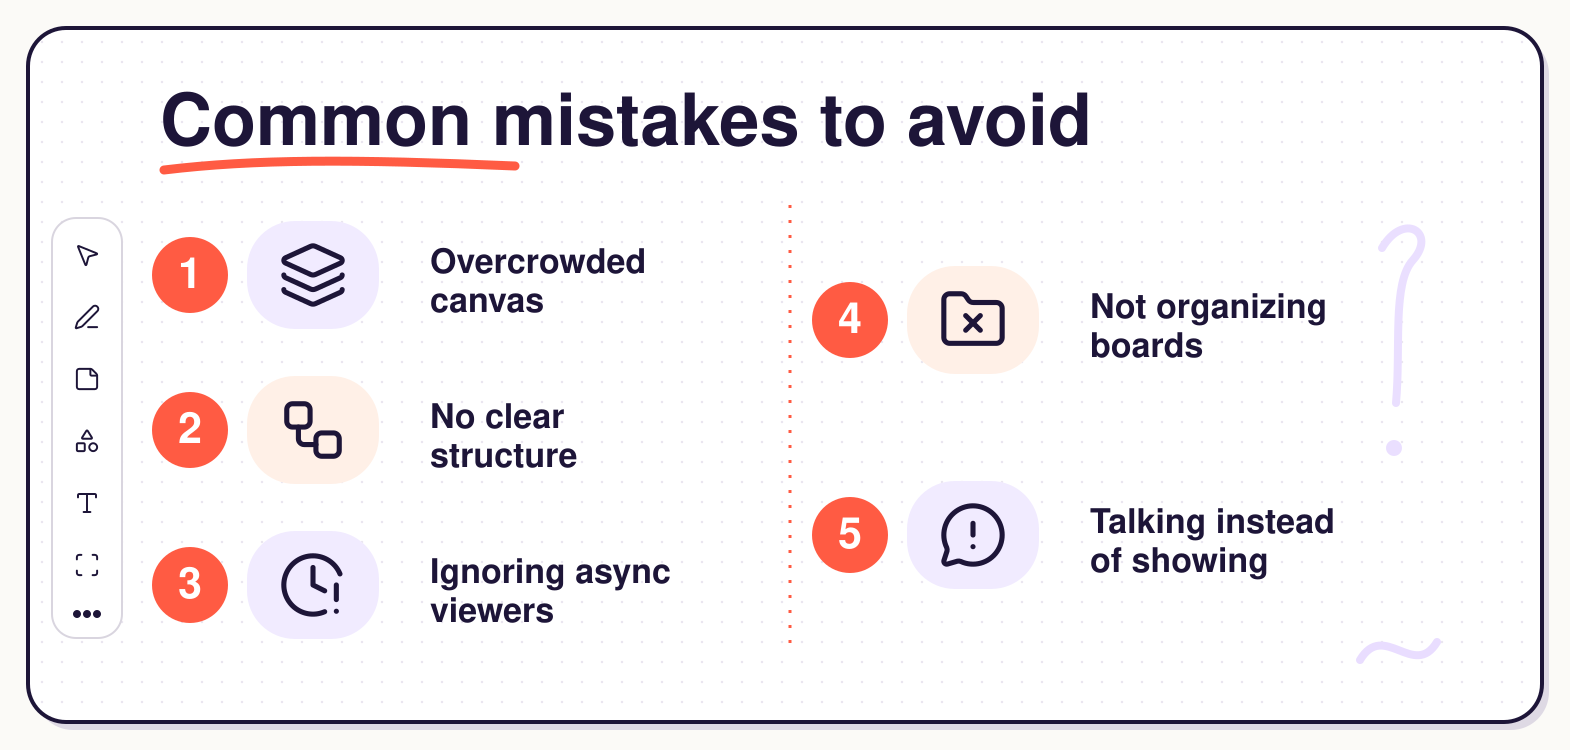
What to look for in a teaching whiteboard
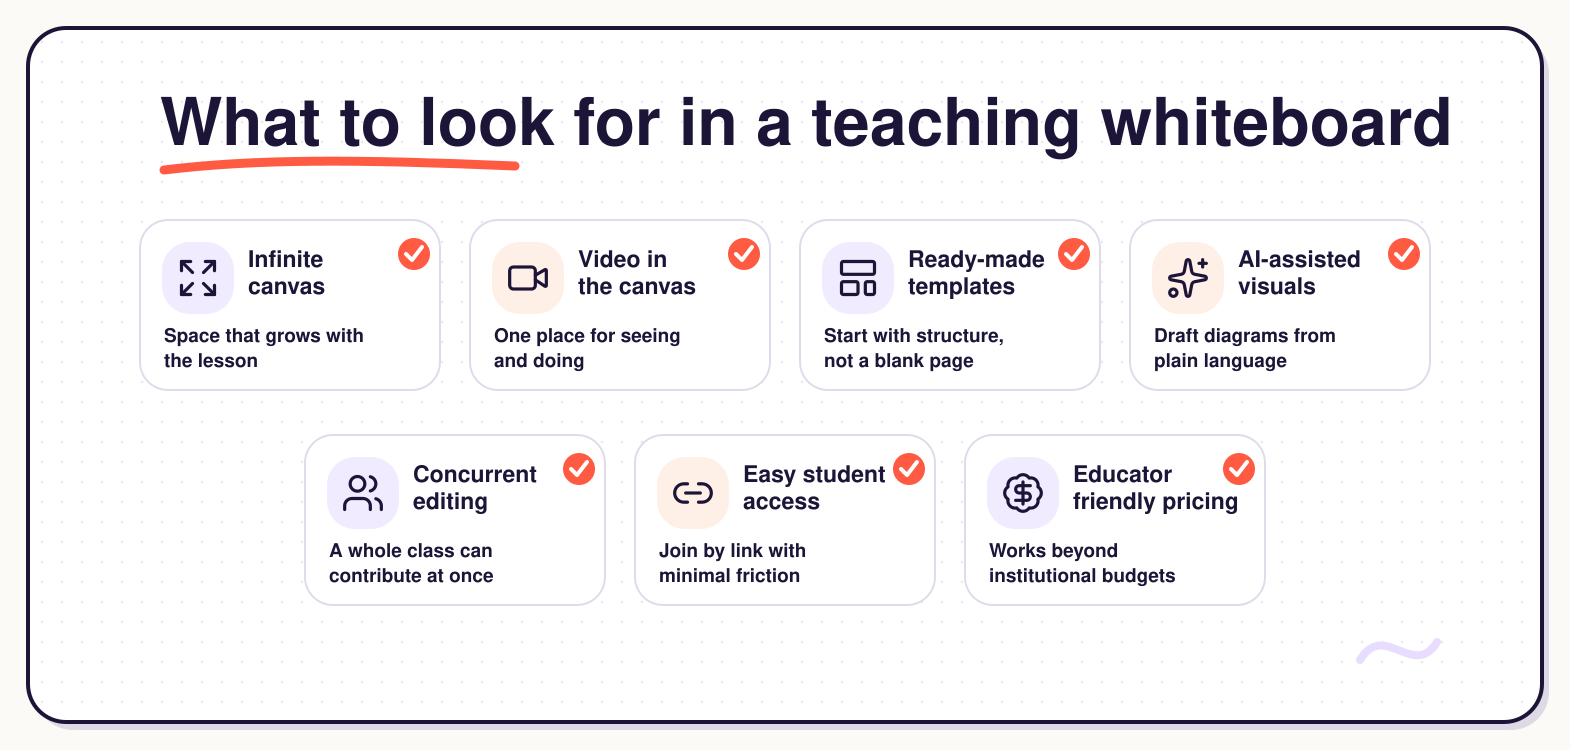
The five stages above point to a fairly specific list of features. Whichever tool you use should support all five, not just one or two:
- An infinite canvas that doesn't force you to plan around page boundaries mid-lesson
- Video built directly into the canvas, so you're not toggling between a call window and a separate whiteboard app
- Ready-made templates for common teaching formats: lecture outlines, brainstorming frames, and group project boards
- AI assistance for building visuals, so a flowchart or mind map can start from a plain language description instead of a blank canvas
- Genuine concurrent editing, so a full class can contribute at once without the board slowing down or breaking
- A low learning curve for students, ideally with no account required just to join and contribute
- Pricing that works for individual educators, not just institutions with a training budget
Vani brings the five stages into one shared space, so the board isn't something you switch to when you need a diagram. It becomes the place where the lesson happens. Slides and documents can be imported and annotated directly on the canvas. Video is native rather than a separate app. Its AI layer can draft a first-pass flowchart or mind map from a plain language description, and zones make dividing the board for group work straightforward. Real-time concurrent editing means students can contribute to the same board at the same time without needing separate copies. Its free plan supports unlimited user onboarding, a meaningful detail for teachers bringing in an entire class without per-seat friction.
Getting started
Teaching on an online whiteboard is a different skill from teaching in front of one, but it rewards the effort once the whiteboard stops being treated as a stand-in for a marker and starts being treated as a space students are actually part of.
If you're setting up your first virtual teaching space, Vani covers each of the five stages above: templates to prepare, a canvas built for live annotation, AI-assisted diagramming to build with your class, concurrent editing so participation doesn't break the board, and a persistent canvas to revisit afterward. The best sign a lesson worked isn't that students followed along; it's that they can point to the parts of the board they built themselves.
FAQs
- Do students need an account to join an online whiteboard lesson? It depends on the tool. Many platforms, including Vani, let students join a shared canvas through a direct link without creating an account first, which lowers the barrier for younger students or one-off sessions.
- Can you record a lesson taught on a whiteboard? It depends on the platform, and it's worth checking whether recording covers the video, the board itself, or both, since not every tool treats those the same way. Vani's canvas persists and can be reopened after class even without a video recording, which covers most reuse cases even where full session recording isn't available.
- Is an online whiteboard better than sharing slides for teaching? For lessons that benefit from live building, such as concept mapping, working through a problem step by step, or group brainstorming, a whiteboard generally outperforms static slides because it shows the reasoning develop rather than presenting a finished result. Slides still work well for content that doesn't need to change in the moment.
- How many students can use one whiteboard at the same time? This depends on the platform. Tools built for real-time, multi-user collaboration are designed to handle a full class contributing at once. Vani supports real-time concurrent editing, so students can contribute to the same board at the same time without needing separate copies.
- What's the difference between an online whiteboard and screen sharing on a video call? Screen sharing is one person presenting a fixed view that everyone else watches. A whiteboard is a shared canvas that students can add to directly, which is a meaningful difference for teaching: it turns the lesson from something students observe into something they help build.